Grilled Cheese Taste Test (Student Activity)
I always tell people the one thing they don’t warn you about when it comes to homeschooling is the frequency of feeding times. As soon as you get a meal out of the way and the kitchen tidied up, someone chimes in with the never-ending refrain: “I’m hungry.” This, of course, is followed by the perennial retort: “You just ate.”
It was one thing when they were toddlers, and a couple of carrot sticks or an apple sauce pouch would do the trick. But as these busy little humans get bigger, their high-octane energy burn requires frequent refueling with substantial food. Our position at Inquisicook is that if they’re going to be consumers, they should learn to be producers. And if we’re going to pause to prepare food anyway, we might as well weave in some learning experiences.
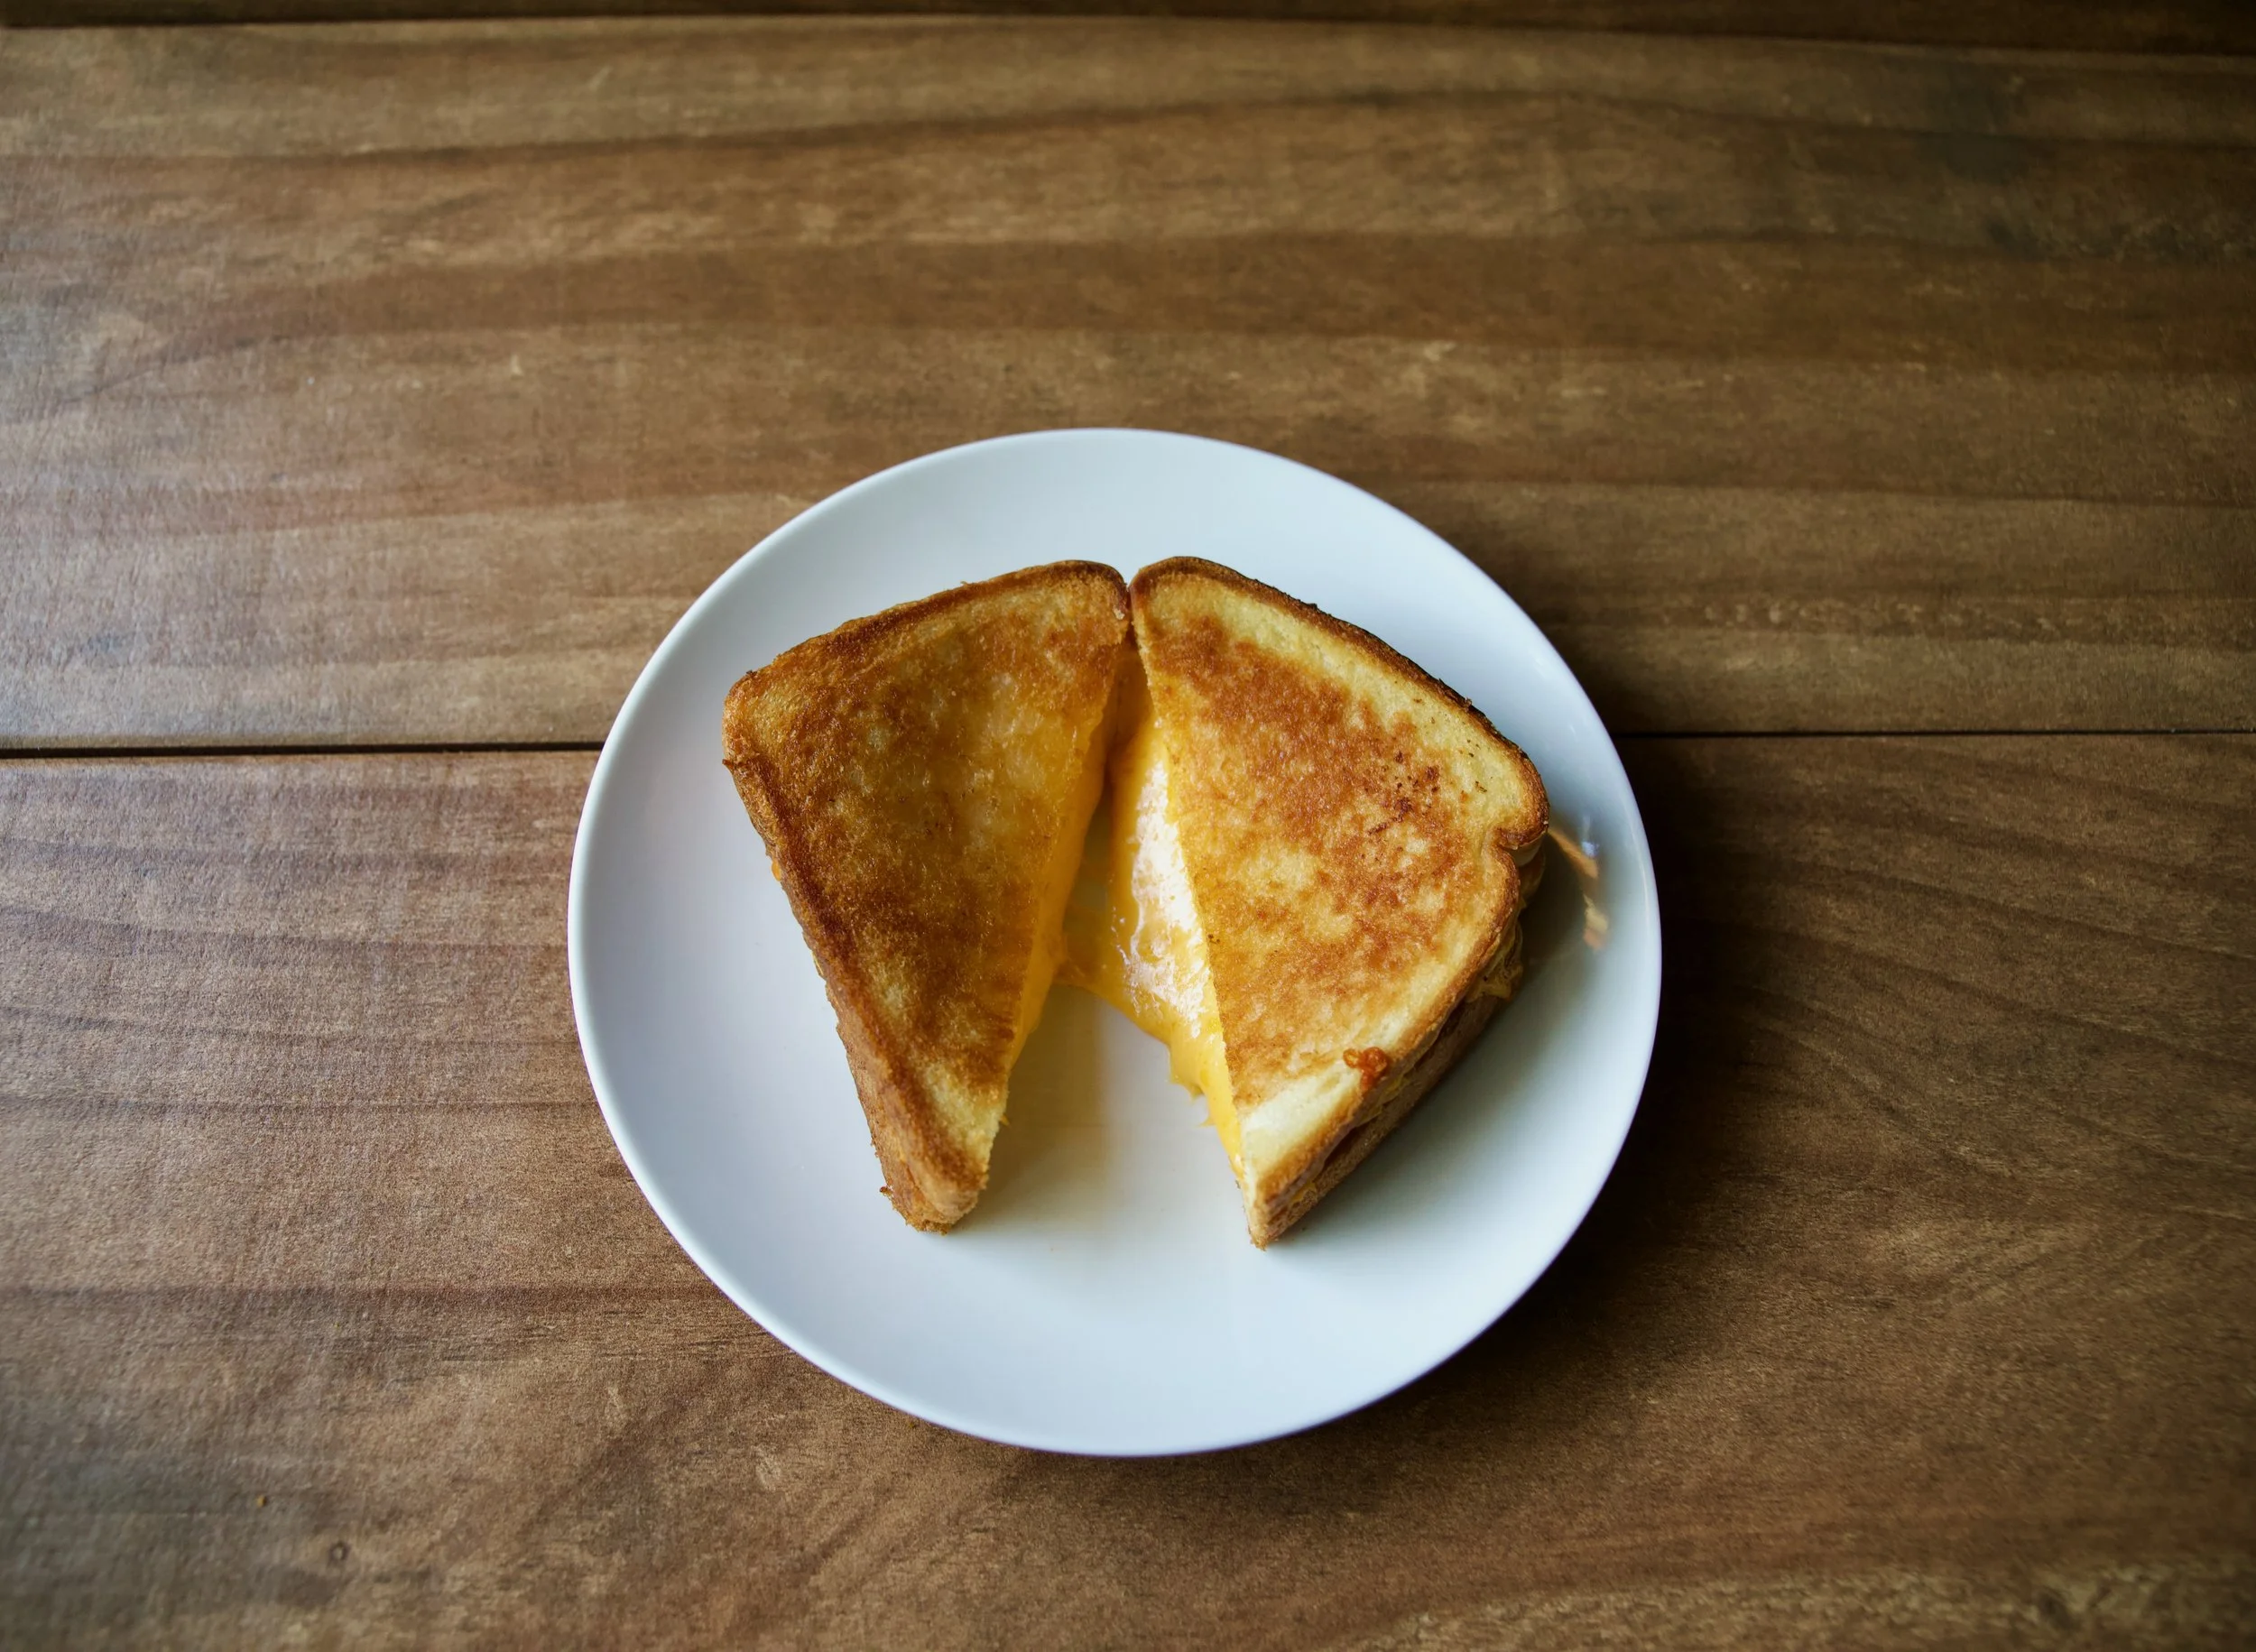
Lunch is a good place to start, and since grilled cheese gets top billing as America’s favorite sandwich, it’s likely to be a natural crowd-pleaser. There’s a lot of science to explore with this tasty classic, and using the sheet pan method of cooking allows you to have all the samples ready at the same time. It also results in superior browning.
If you want to stick close to the scientific method, you should only change one variable in each sample. In other words, if you’re investigating the browning and crisping properties of different fat coatings, you should use the same cheese and bread in each sample. You should also have students make predictions about each sample and then compare them with the actual results. If you want to make it a less formal exploration, you can set those guidelines aside.
The Variables
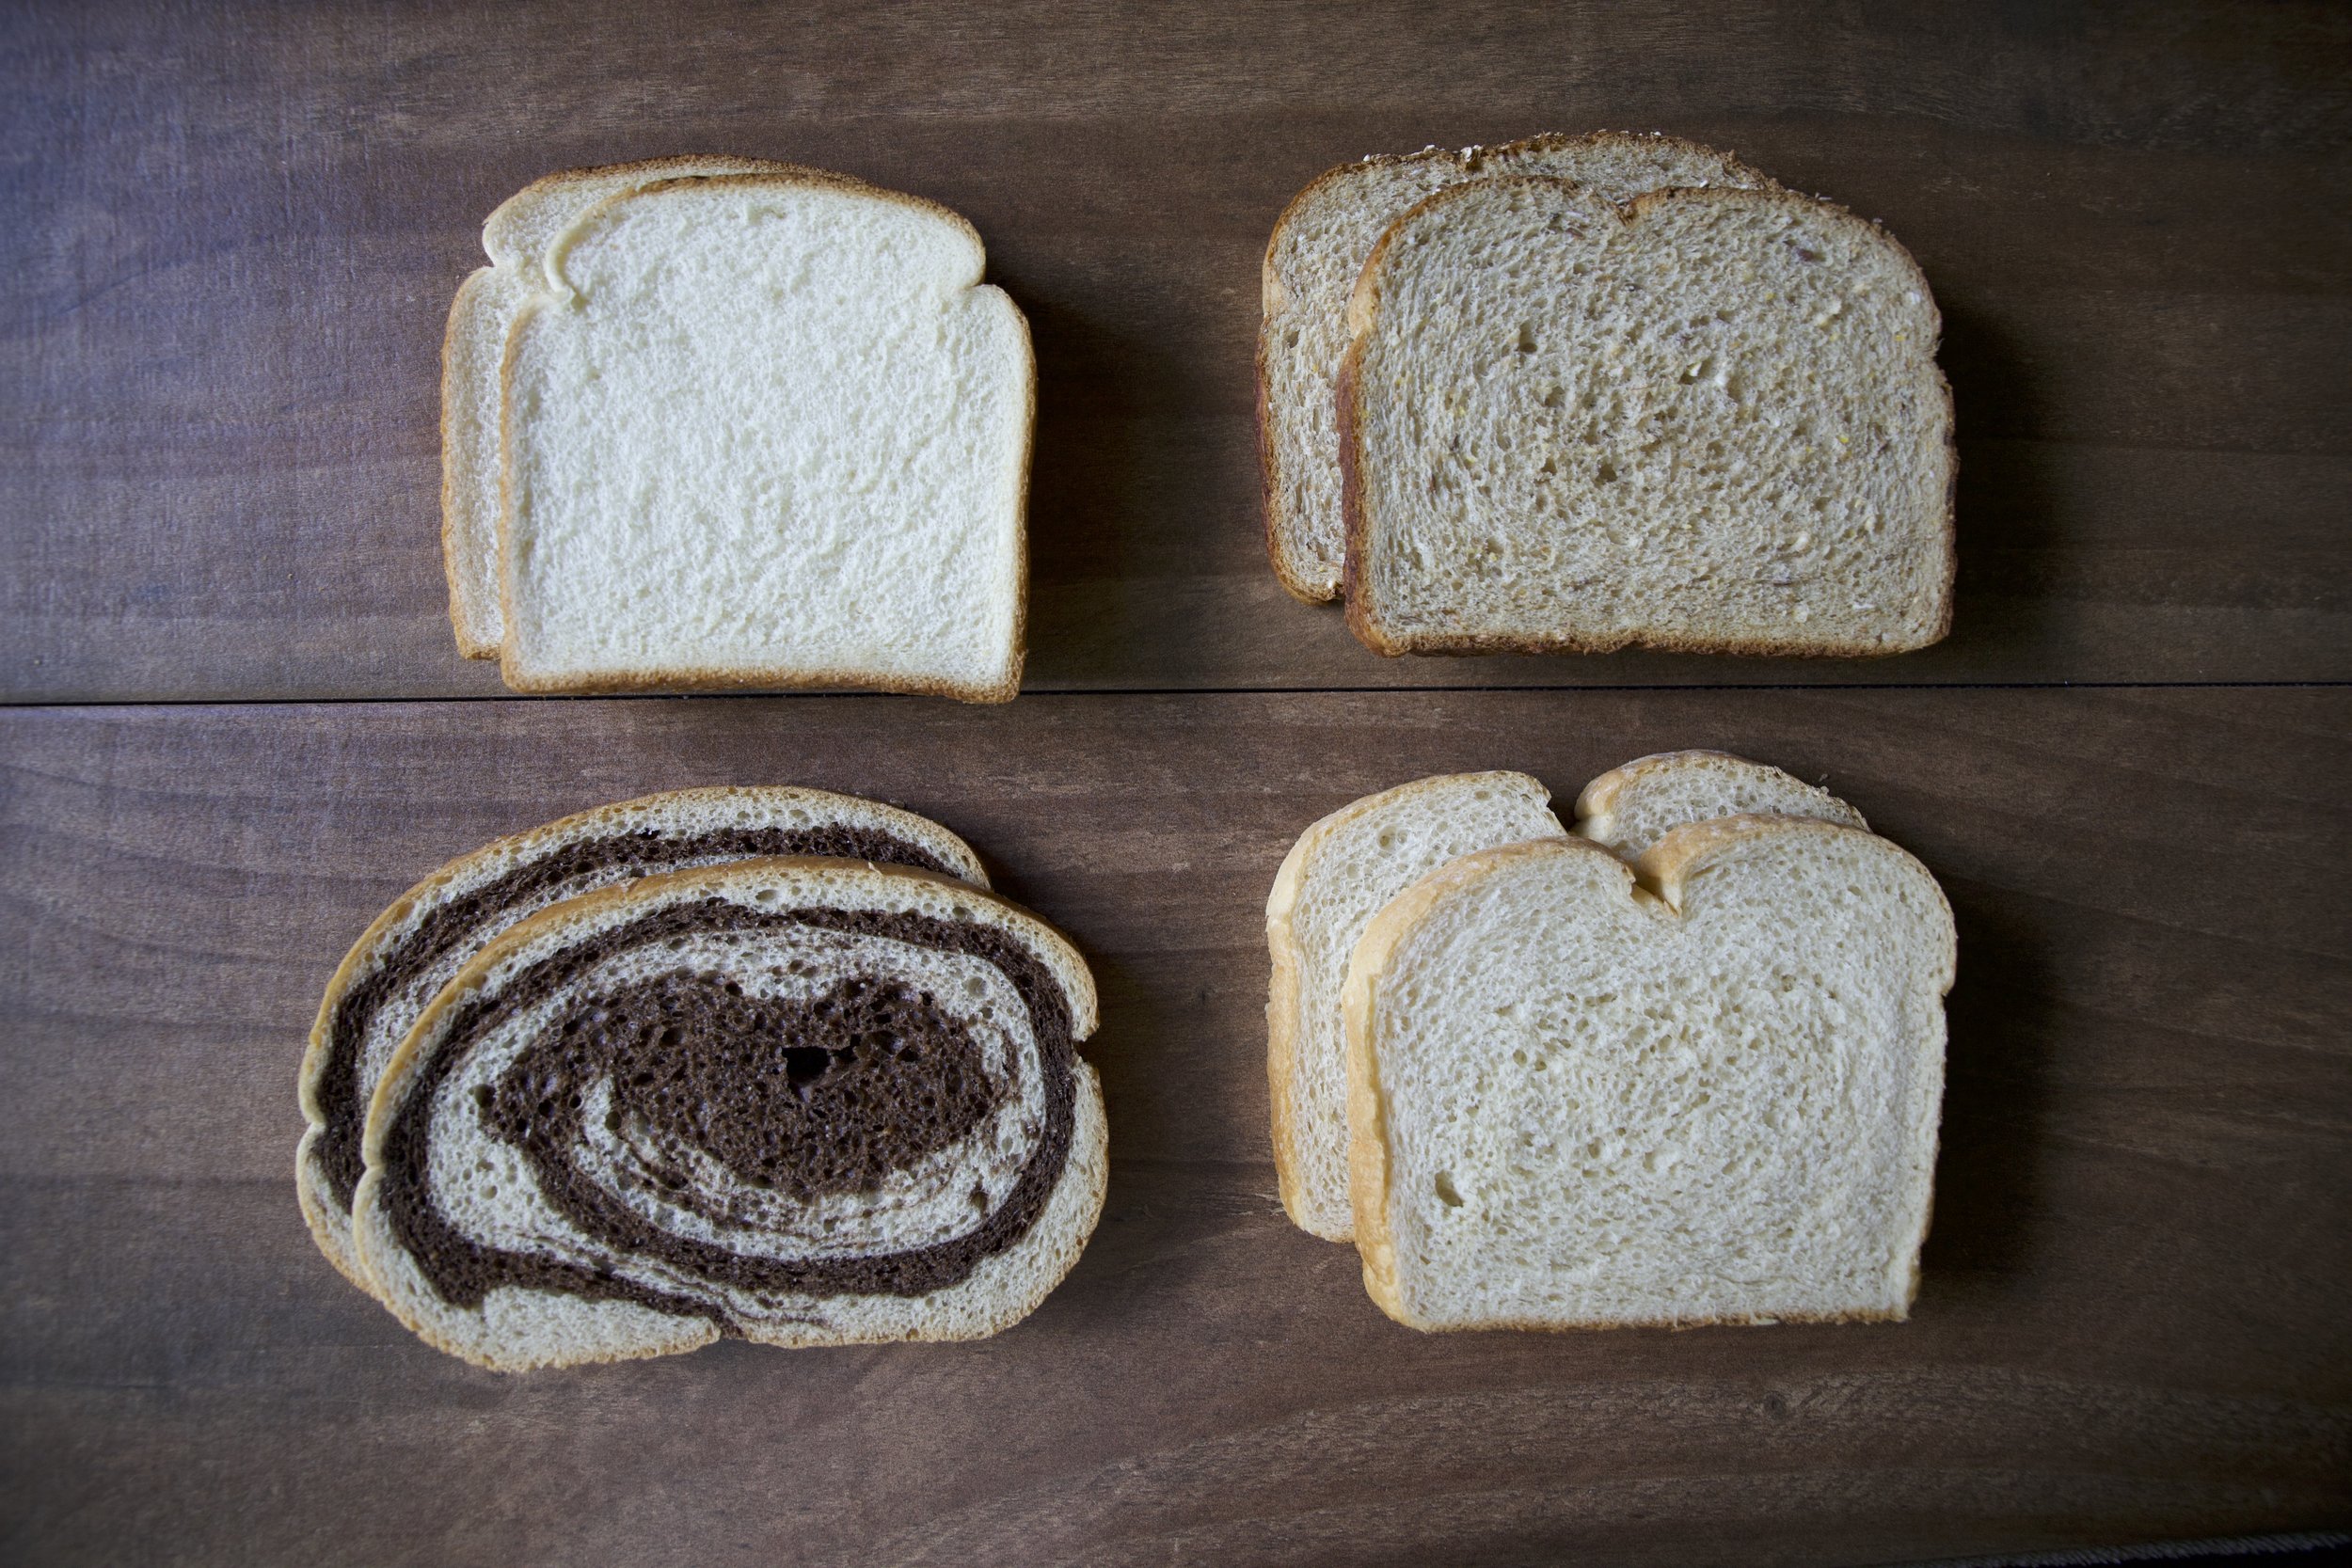
There’s a lot to consider when it comes to bread. How moist is it? How dense is the crumb? How thick are the slices? How will each type absorb the fat coating? Is it firm enough to remain structurally stable after cooking? Is that desirable, or do taste testers prefer a softer, squishier sandwich? Will bread with an assertive flavor, such as pumpernickel, overwhelm the cheese?
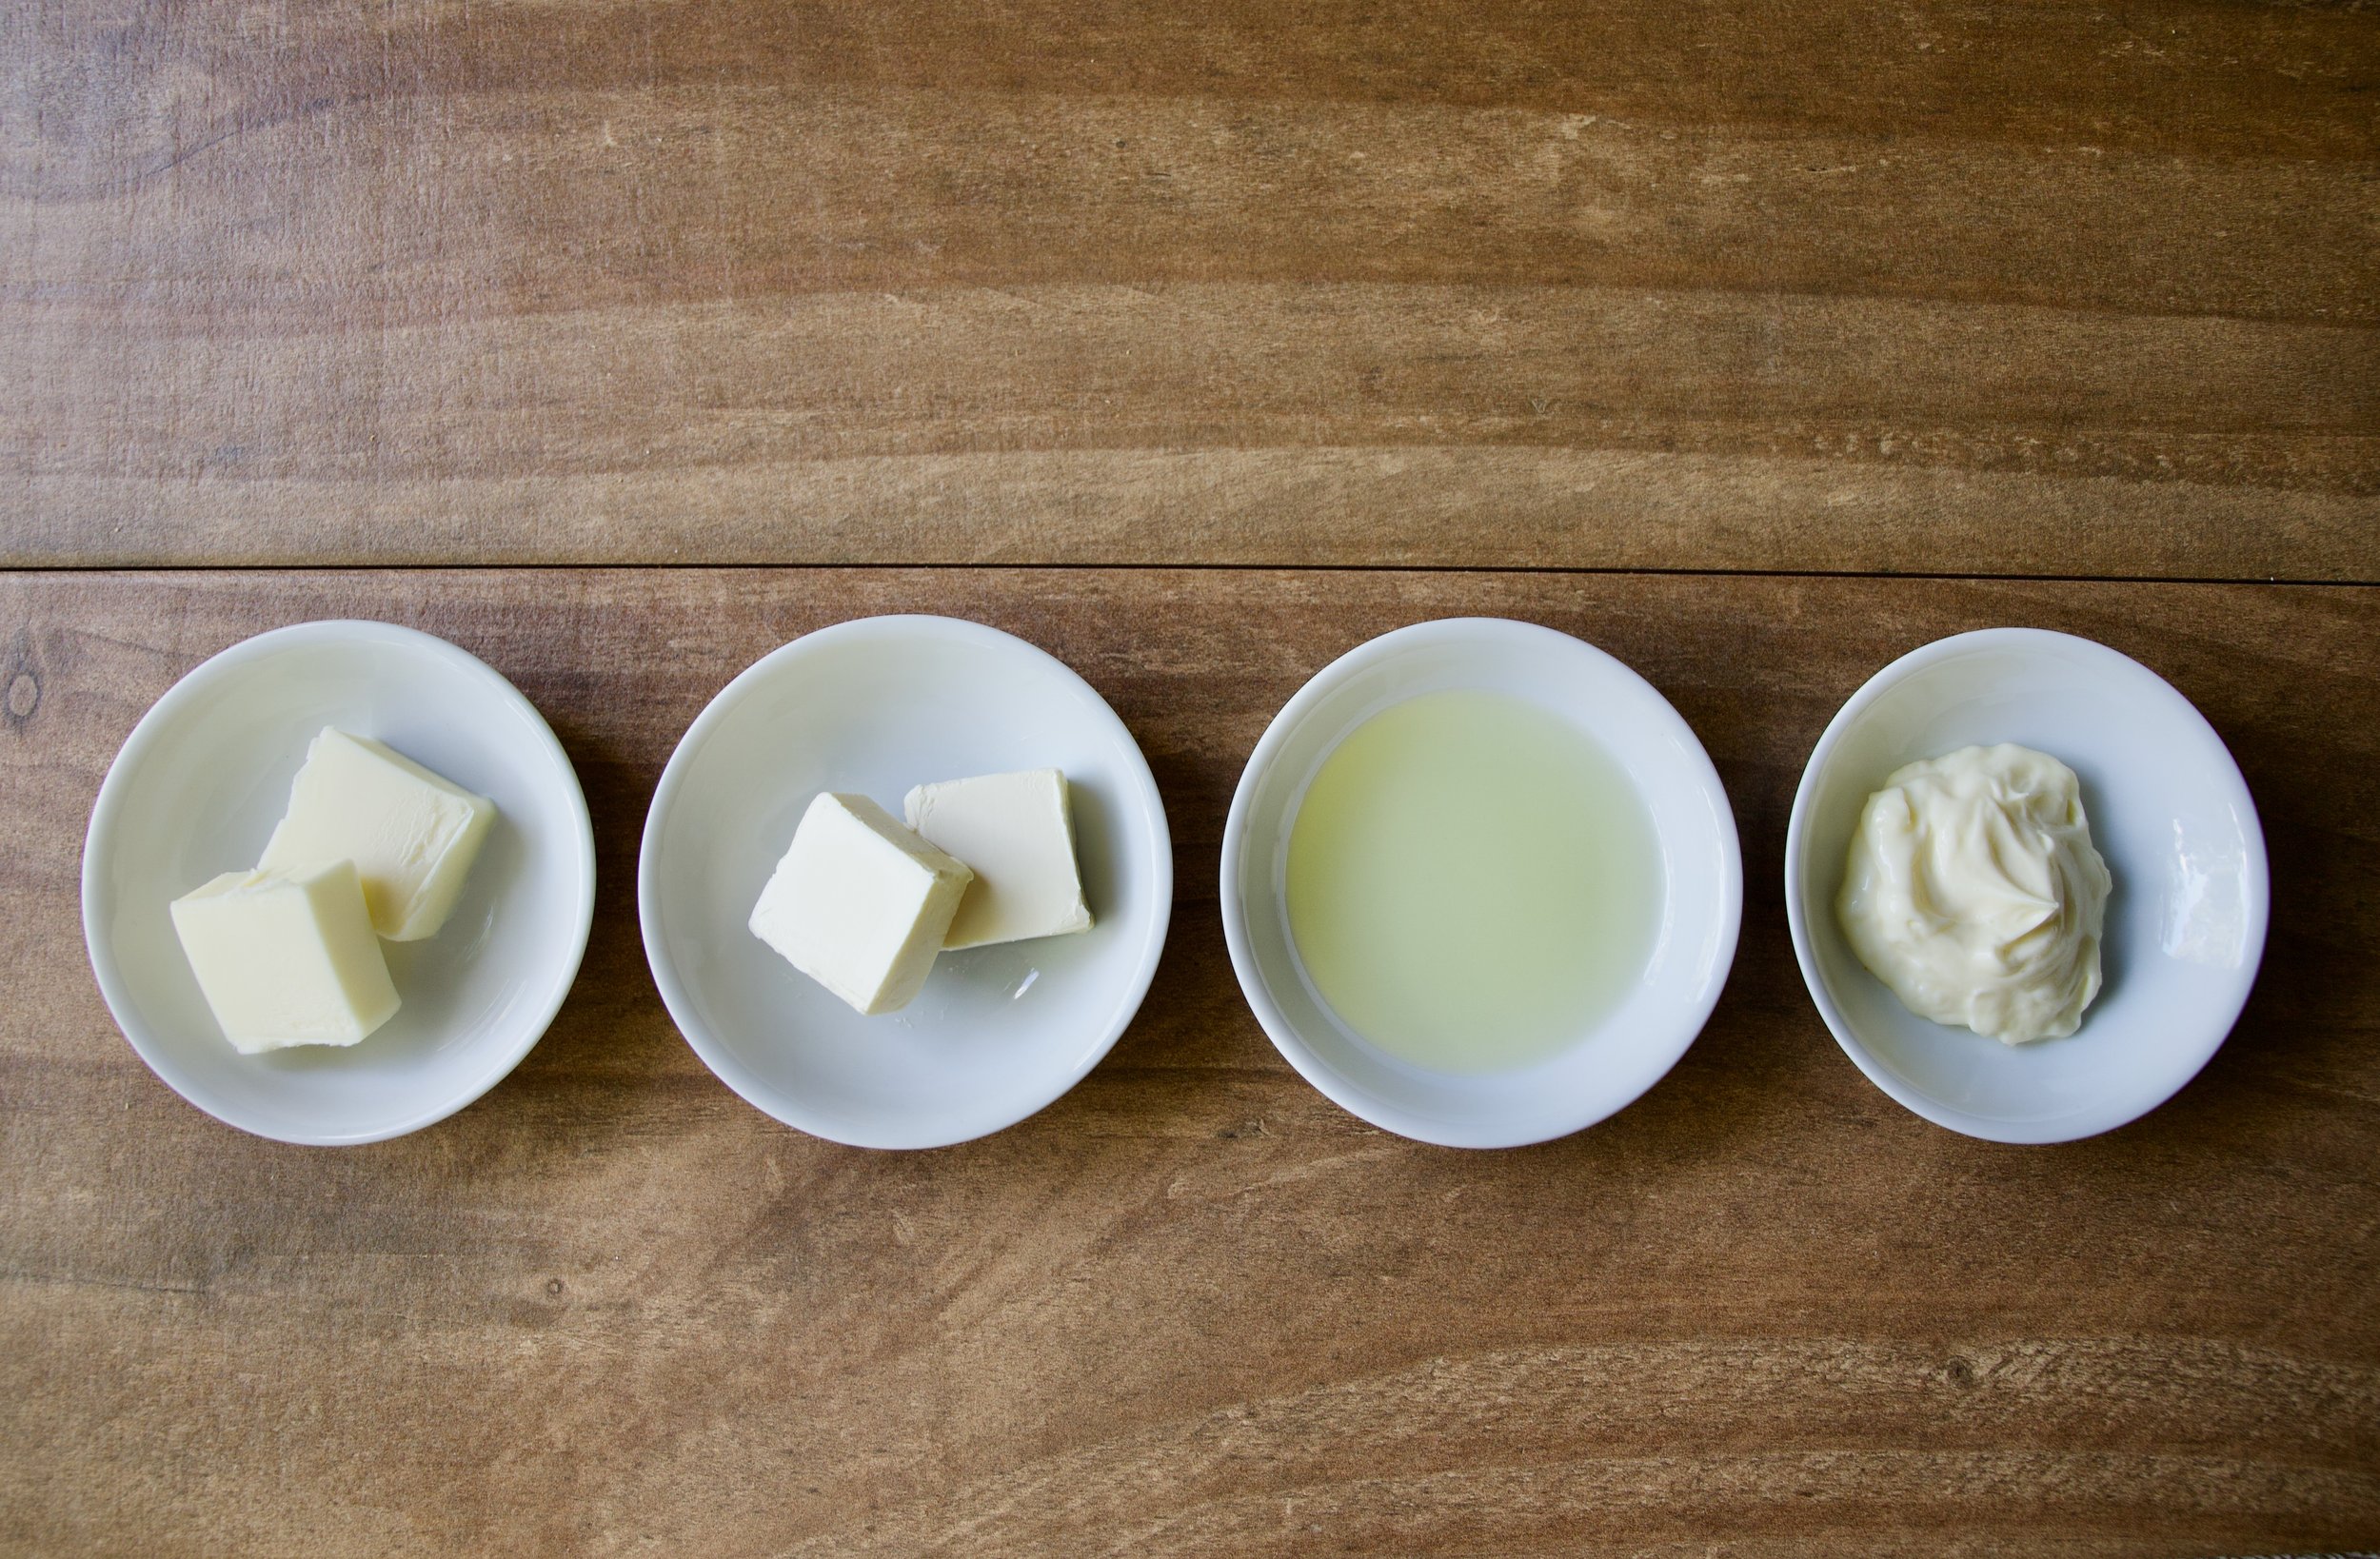
The type of fat coating you use can have a profound effect on browning. It also affects crispness. We used butter, margarine, olive oil, and mayonnaise for our trials. I won’t share our specific observations, but this variable presents a good opportunity to reason through the possible results with your students. Butter is typically about 15% water and it also contains milk solids. Olive oil is just fat. Mayonnaise contains eggs. How might these factors affect the results? Also, consider ease of application. Spreading mayonnaise into an even layer is a simple matter. You can’t accomplish this with butter unless it’s softened. Obviously, this advantage only helps the cook, but it’s worth discussing.
The most obvious change-up for a grilled cheese sandwich is the cheese. Flavors run the gamut from intensely strong to nearly imperceptible. But it’s the melt factor that interests most people.
Cheese is an emulsion—a mixture of two substances that normally won’t mix together. In this case, it’s dairy fat and water, and these two are bound together by a protein network. (The specific protein is called casein.)
The meltability of cheese has to do with the water-to-fat ratio and the integrity of the protein network. When cold, the protein network is strong and the cheese remains solid. As the cheese is heated, the protein bonds begin to break, causing the structure to loosen. The mesh gives way, so the cheese becomes soft and gooey. If you’ve ever heated cheese to the point that it becomes clumps suspended in a puddle of oil, you’ve gone too far and have “broken” the emulsion.
The best melters tend to be moist cheeses, which have a suitable water-to-fat ratio. Also, young cheeses have a protein structure that’s open enough to do a good job of binding, so they melt better than aged cheese, such as Parmesan. Finally, if you’re considering using pre-shreddded cheese, check out this article to weigh the pros and cons.
American cheese gets a bad rap, and it’s kind of a shame. It is possible to find one that’s pretty good quality, and those sandwich-sized squares are very handy in a busy kitchen. But American cheese really shines in the melting department, thanks to some spiffy science. It starts out as regular cheese, then extra milk and protein are added along with emulsifying salts. We keep one of these salts—sodium citrate—in our test kitchen pantry, and the magic you can work with this stuff is amazing. If you ever find yourself wishing you could transform your favorite cheese into a silky sauce without a roux or stringy clumps, pick up some sodium citrate from Amazon or a cheese-making specialty shop.
The Cooking Process
If you’ve lived your life making grilled cheese sandwiches for a crowd one or two at a time on the stovetop, you are going to LOVE this method. The first time I tried sheet pan grilled cheese sandwiches, I was amazed at how well they browned, how perfectly the cheese melted, and how delightful it was to serve everyone at once. There was no turning back. Plus, if you can manage the flipping and serving without piercing the aluminum foil, clean-up is next to nothing.
Preheat the oven to 425 degrees. Line a sheet pan with aluminum foil for easy clean-up. Devise a method for keeping track of which sample is which. A quick diagram on a sheet of scratch paper will do the trick.
Spread one slice of bread (for each sandwich) with the fat coating and place it fat-side down on the sheet pan. Try to make sure each slice gets spread with the same amount.
Top the slices with equal amounts of cheese. Using a kitchen scale can keep things even, or for shredded cheese, you can use a measuring cup.
Spread the fat coating on the remaining bread slices and put them on top of the cheese, fat-side up.
Bake on the center oven rack for 8 minutes, then flip the sandwiches. Bake an additional 6-8 minutes, until the cheese is melted and both sides of the bread are golden brown.
While the sandwiches are baking, set up your tasting area with sample labels, plates, napkins, glasses of water, pencils, and evaluation forms. Each taster should have an evaluation form for every sample.
Allow the sandwiches to cool for 5 minutes, then slice into triangles and serve.
Fun fact: Research has shown that sandwiches cut into triangles are more enjoyable to eat than square or rectangular portions.
The Evaluation Process
This is where things get really interesting. Since different people have different opinions about food ideals, it’s entirely possible that family members will disagree about the samples. Keep in mind that there are no right and wrong answers.
If you made a prediction about your results, jot those down somewhere for later comparison. The back of your Grilled Cheese Evaluation Form might be a handy spot.
Be sure the tasting area is set up before the samples come out of the oven. Let tasters know when they’ll need to come to the table so everyone will be ready when it’s time to start. It’s helpful to take pictures to document tasting trials, so arrange that in advance if you want to.
Give each taster one sample from each category, keeping track of which is which. If you want to do a “blind” taste test where the tasters don’t know what the difference is, label your samples with numbers or letters rather than descriptions.
Have your tasters try the samples, taking a sip of water between each one. Sometimes it’s helpful to close your eyes while tasting so you can really focus on flavor and texture. After trying each sandwich, tasters may want to go back and forth between them for comparison.
Ask participants to fill out the Grilled Cheese Evaluation Form, including comments and suggestions for improvement. When everyone has had a chance to fill out their forms, open up a discussion about the results.
Compare your prediction with the outcome. Did you guess correctly? If not, can you figure out why the results were different than you expected?
Clean up the kitchen and tasting area. Leave everything at least as good as you found it.
The Extensions
The suggested variables above are only the beginning. In future trials, you could test adding interior inclusions such as bacon bits or sliced dill pickles. What if you wanted to sprinkle some extra flavor onto the fat coating, such as garlic powder or parmesan cheese? You could even test different cooking methods, like outdoor grilling or using a panini press.
If you try this activity, we’d love to see pictures or hear how it went. You can leave a comment here or touch base with us on Facebook. Happy investigating!


